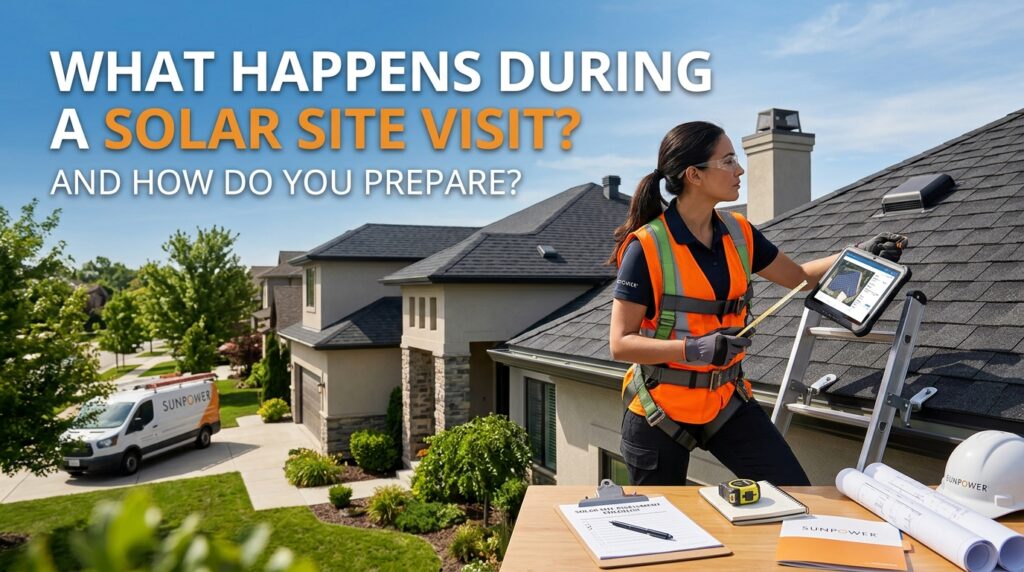
What Happens During a Solar Site Visit and How Do You Prepare?
Deciding to power your home with solar energy is a smart financial and environmental decision for St. Louis homeowners. However, before solar panels can be installed on your roof, an essential step must take place: the solar site visit. At Rumos Chem, we guide St. Louis residents through every step of their residential solar installation journey. A site visit—also known as a site assessment or solar audit—allows professional technicians to evaluate your home’s physical structure, electrical readiness, and sun exposure to ensure a seamless, efficient installation tailored to your energy needs.
1. Scheduling and Initial Pre-Visit Alignment
The solar site visit begins long before a technician arrives at your driveway. Once you decide to explore residential solar with Rumos Chem, our team works with you to pick a convenient date and time. Scheduling generally requires a 1- to 2-hour window where the homeowner or an adult decision-maker is present.
Before the technician arrives, initial remote data is compiled using satellite mapping tools. However, virtual assessments cannot replace on-site verification. During this phase, you will receive a confirmation listing what areas of your home the site assessor will need access to, including your attic, main electrical panel, meter, and roof access points.
2. Comprehensive Roof Assessment
Your roof is the foundation of your solar power system. During the site assessment, the technician evaluates several key structural elements to determine if your roof can safely support a photovoltaic (PV) array for 25 to 30 years.
-
Roof Condition and Age: Inspecting asphalt shingles, tile, or metal for wear, damage, or soft spots. If your roof is nearing the end of its lifespan, replacing it prior to solar installation is recommended.
-
Structural Integrity: Checking rafters, trusses, and decking from inside the attic to ensure they can handle the dead weight and wind loads typical of Midwestern weather.
-
Pitch and Orientation: Measuring the tilt angle and orientation. In St. Louis, south- and west-facing roofs generally yield the highest energy output throughout the year.
3. Electrical Panel and Utility Infrastructure Review
Solar panels generate direct current (DC) electricity, which an inverter converts into alternating current (AC) electricity for your household appliances. To connect this system safely, your existing electrical infrastructure must meet current electrical codes and capacity requirements.
The technician will perform a detailed review of your electrical setup:
-
Main Breaker Panel Rating: Evaluating your panel’s amperage (typically 100A, 150A, or 200A). Older St. Louis homes with 60A or 100A panels may require an electrical panel upgrade before installation.
-
Busbar Capacity: Checking space availability for a new dedicated solar circuit breaker.
-
Utility Meter & Grounding: Verifying the physical location of the electric meter and checking the grounding system for safety compliance.
4. Shade Analysis and Solar Access Measurements
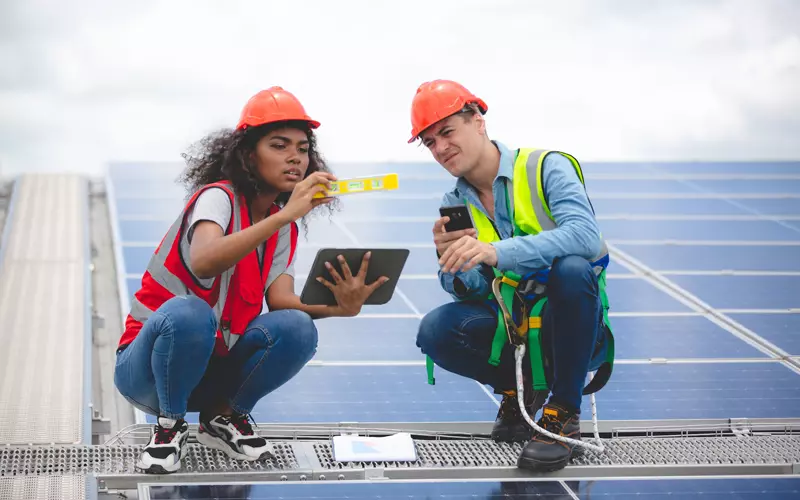
Shading from nearby trees, chimneys, or neighboring structures can significantly impact solar energy production. During the site visit, specialized tools are used to calculate the exact amount of sunlight your roof receives year-round.
5. Utility History and Usage Analysis
To design a solar energy system that covers your household energy usage, the technician or design consultant will review your historical energy consumption. While satellite estimates provide a baseline, reviewing actual utility bill history accounts for seasonal variations in St. Louis, such as summer air conditioning peaks and winter heating demands.
Having 12 full months of utility usage records allows Rumos Chem to calculate your baseline consumption accurately, sizing your solar array so you avoid under-producing or unnecessarily over-building your system.
6. How St. Louis Homeowners Should Prepare
Preparation ensures the site assessment goes smoothly and quickly. Here is a practical preparation checklist for St. Louis homeowners:
-
Clear Access Points: Ensure clear pathways to your electrical panel, attic access hatch, utility meter, and perimeter of the home.
-
Secure Pets: Keep dogs or outdoor pets secured inside or in a separate room while gates and doors are opened for outdoor inspections.
-
Gather Documents: Have your most recent 12 months of Ameren electric bills (or digital copies) readily accessible.
-
Note Roof History: Locate records regarding the age of your roof or recent repair warranties.
7. Essential Questions to Ask Your Assessor
The site visit is a two-way conversation. Take advantage of having a solar specialist on-site to ask informed questions about your home’s compatibility.
8. Safety Standards and Local Compliance
Safety is a priority during every site evaluation. Assessors carry specialized safety gear, including harnesses and ladder stabilizers, to safely navigate roof structures. Additionally, site assessments ensure your proposed system adheres strictly to the National Electrical Code (NEC), local St. Louis building codes, and municipal zoning guidelines, preventing delays during the permitting process.
9. Frequently Asked Questions (FAQ)
How long does a solar site visit take?
A standard residential solar site visit usually takes between 45 minutes and 2 hours, depending on the complexity of your roof, attic access, and electrical setup.
Do I need to be home during the site assessment?
Yes, an adult decision-maker should be present. The assessor needs indoor access to inspect your attic framing and electrical panel, as well as to discuss system preferences with you.
Will the technician need to go inside my attic?
In most cases, yes. Inspecting the attic rafters and structural framing from the inside allows the technician to confirm that your roof can safely support the weight of solar panels.
What happens after the solar site visit is completed?
The collected data—measurements, electrical specs, and shade metrics—is passed to our design and engineering team at Rumos Chem. We produce a finalized, custom engineering plan, firm pricing structure, and submit permit applications for your St. Louis home.
Does a site visit commit me to buying a solar system?
No, a site visit is an evaluation tool used to create an accurate design and proposal. It allows you to get precise, customized information before making your final investment decision.